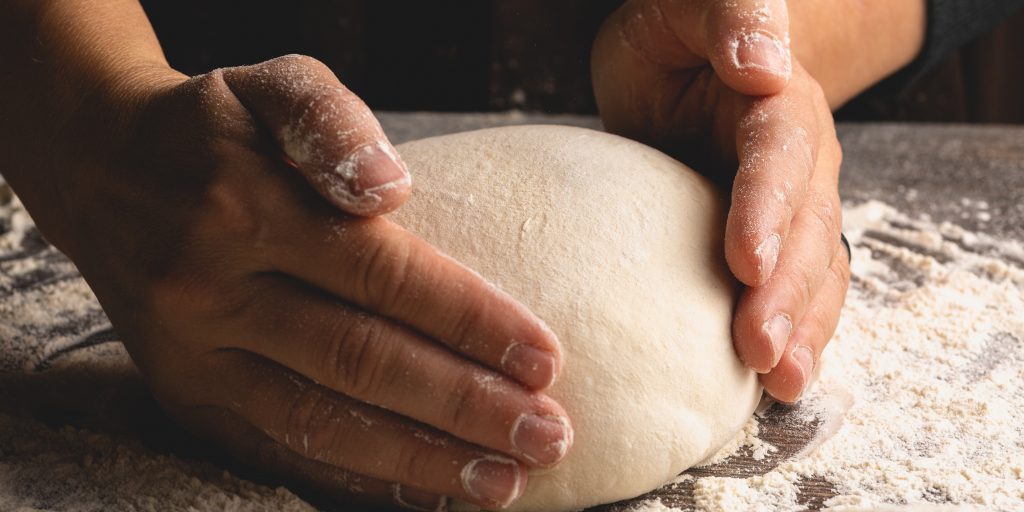
Baking sourdough is a popular bread choice, especially for home bakers these last few years. Between the lovely crumb of the bread and the slightly sour taste, this complex bread is fun to make and wonderful to eat.
However, what happens if your sourdough is underproofed and flat? Is there any saving your dough? Let’s take a look and see what underproofed sourdough looks like and how you can prevent it from happening to you.
What Is Proofing?
Proofing is the process of allowing bread to rise and develop lift in the crumb structure by way of using yeast. With proofing, bakers give sourdough bread the big pockets of air and light interior that we love from this type of bread.
Yeast creates these pockets of air in your bread by producing gas, mostly carbon dioxide. When you bake the bread, these pockets of gas expand and push against the gluten network you build up when kneading the dough. The gluten in the bread keeps the gas contained, but the expanding gas creates the holes we see when getting a slice of bread.
What is Underproofing?
Underproofing bread means that the bread hasn’t proved for long enough. The point of proofing is to give the yeast in the dough time to create gas inside the bread by eating tiny amounts of carbs.
The outcome of underproofed bread is a loaf of sourdough that doesn’t rise very much, if at all. Without the time to develop the gas inside the bread, the yeast isn’t able to push back against the gluten in the bread while it bakes. Since nothing is pushing the bread from the inside out, the bread doesn’t rise and it stays flat.
What happens to overproofed dough?
Underproofing doesn’t always affect the flavor of the bread, but it does mess up the texture. An unrisen loaf of bread can taste flat, but it will also feel dense or stodgy when you bite into it. Underproved bread is edible, but not the enjoyable experience that a well-proved sourdough is.
How Proofing Affects Sourdough Bread
The process of proofing can make or break a sourdough bread’s texture and mouthfeel. Without the development of the yeast inside the dough, the bread doesn’t rise to the point that it needs to create that iconic sourdough crumb structure. That’s why proving is important for all bread, sourdough included.
It all starts with the yeast. When properly activated, generally around 95°F, dry yeast comes alive and begins to look for food. Yeasts eat sugar, including the carbs found in bread dough. As the yeast eats the bread flour, it creates the carbon dioxide gas needed to lift the sourdough loaf before and during baking.
However, this process takes time. The yeast needs time to process the sugars it eats, much like our own bodies need time to get nutrients from food. Without this time, the dough doesn’t build up those gas pockets it needs to rise.
Your room’s temperature and humidity affect sourdough’s proving, too. Yeast enjoys a somewhat warm, humid environment. The heat helps speed up the breakdown of sugars, while humidity gives yeast the water it needs to break up the long chains of starch in the flour.
If you’ve seen recipes call for you to put your sourdough in a proving drawer or container, this is why. The yeast won’t work as effectively without the right environment, which could lead to a slow or stalled proving.
Proofing also helps control the gluten network of the sourdough. The yeast eats some of the sugars of the dough, which very slightly softens the dough. Too much of this consumption and the bread doesn’t have the structure it needs to stay upright when baking.
Proofing Tips for Sourdough Bread
If you need some help keeping your sourdough from being underproofed, here are some tips you can follow along with the next time you bake:
Get Your Sourdough Starter Situated
Sourdough bread starts with a starter. This ingredient is a pre-fermented batch of microbes that adds both lift, also called leavening, to the dough and the characteristic sour flavor to the dough. Regardless of whether you use a homemade or store-bought sourdough starter, you need to ensure the starter is ready to use before putting it into the dough.
The sourdough starter should react to the flour you feed it. Typically, you’re looking for some lift to the starter to see that the yeast is eating the carbs and producing gas. For most starters, this reaction takes place over an hour or so, meaning you’ll need to observe the rise of the starter to see if it activates.
Proof at the Right Temperature and Humidity
Once your starter is ready, the next step will be to add it to the dough and let everything mix. Once mixed, a sourdough ball needs to prove for a while to give the yeast a chance to work. You’ll want to ensure that the conditions are ideal for the yeast to work its magic.
First, you want to prove the sourdough between 75°F and 82°F for standard sourdough recipes. For folks that like their sourdough stronger, somewhere between 82°F and 90°F will give the flavor of your sourdough starter a better chance to penetrate the dough, making the bread sourer.
As for humidity, you’ll want to pick a spot that is between 60% and 80% humidity. This holds for most bread, including sourdough.
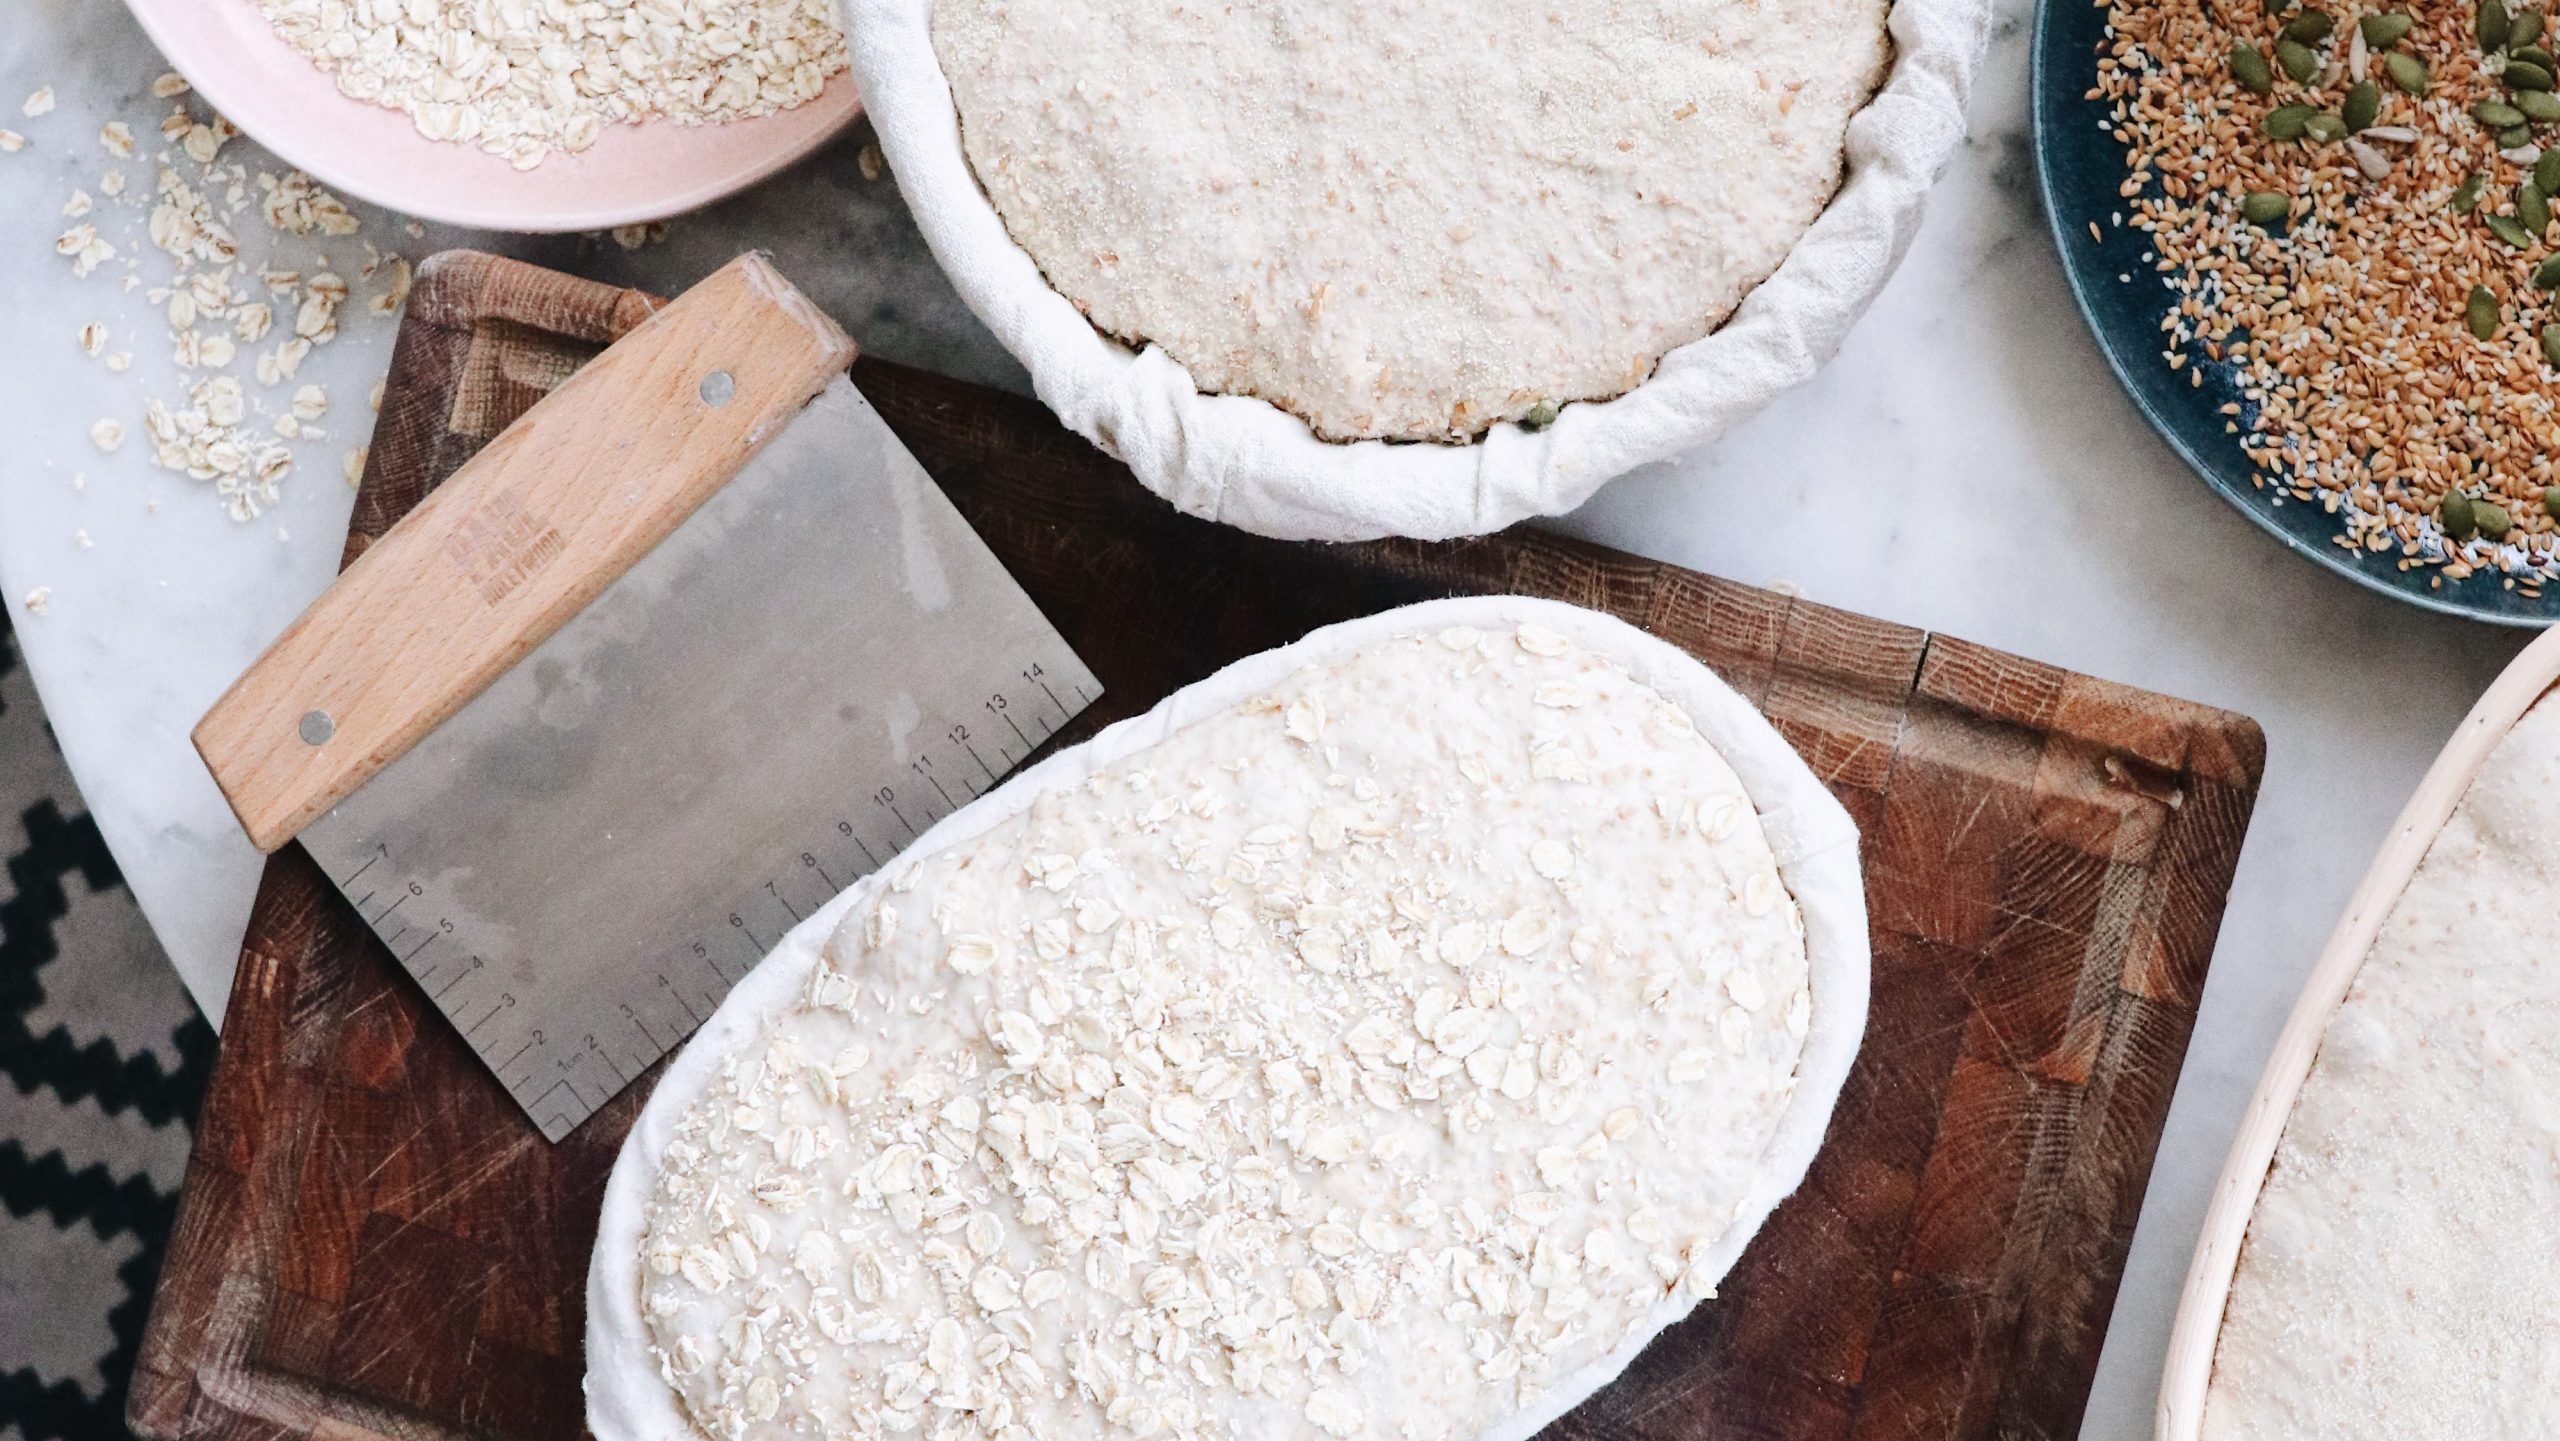
Pay Attention to the First Rise
Another one of the ways you can see how your bread is doing before baking is to check in on the dough while it proves. You can learn a lot about how the sourdough will do in the oven with some observations beforehand.
First of all, you want to see how well your bread proves. Underproofing and overproofing are both obvious during this initial period since you’ll be able to see how much or little your dough proves before going into the oven. Looking for these signs ahead of time will tell you what changes to make while baking.
Always Let Your Sourdough Proof for the Full Time
Newer bakers don’t always understand how important the proving time is for their bread dough. It can seem like a waste of time to let the bread sit around instead of baking. For others, they might see that their dough has risen well in only half the time and decide to pop it in early. Both of these mistakes can be avoided with a little patience.
If you’re following an established recipe, then always let your bread prove for the time the recipe lists. This ensures that you don’t fall into these pitfalls and accidentally mess up your bread.
Use the Poke and Feel Tests When Proofing
Finally, a tried and true method to test sourdough before baking is the poke and feel test. This test gives you a visual and tactile way to see where your bread is during the proving stage.
Once you’ve let your sourdough prove, give it a moderate poke and feel with one of your fingers. For a well-proved dough, the dough should feel airy and recover from the indent you make with your finger after a moment or two. Underproved doughs won’t have any give to them since there will not be any gas to make the dough feel spongy and light.
How to Fix Underproofed Sourdough Bread
Most fixes for an underproofed dough come down to time and patience. For example, you won’t see much rise in an underproofed dough. If this comes up for you, let the dough sit for a little bit longer. Generally, you want to wait however long it takes for the dough to double in volume.
However, an underproofed dough with no rise could instead have a problem with the yeast. If you activate your starter with too much hot water or the starter doesn’t react to added flour, then you might need a different starter to get your sourdough going.
Still, time and some know-how will be your tools of choice to fix an underproofed loaf. If you follow the tips laid out here, you’ll have all the info you need to fix an underproofed sourdough.
FAQs
Here are some of the common questions out there about underproofed sourdough and how to fix it.
How do I tell if my sourdough has bulked enough?
With the poke and feel test, you can determine if your sourdough’s rise during proofing is good enough. You want the dough to feel springy and recover from the press after five or ten seconds. If you get no indent and the dough feels tough, then the dough hasn’t proved for long enough.
How can I make my sourdough bread have more holes?
The holes in a sourdough bread loaf come from the gas made by the starter during proving. To get more holes in your sourdough, you want to use an active sourdough starter and allow the dough to rise in the right conditions once mixed.
Why is my sourdough dense?
Dense sourdough bread comes from underproofing the dough. By not giving the yeast time to create gas in the dough, you keep the dough from having the air needed to raise the dough and create those air pockets we love in sourdough.
Summary
Most of the issues around underproofed sourdough come from a lack of time spent letting the yeast develop. While starters can die out if not properly fed, most bakers will find that changing the time and environment they prove their sourdough in will help keep their sourdough from being underproofed and dense.